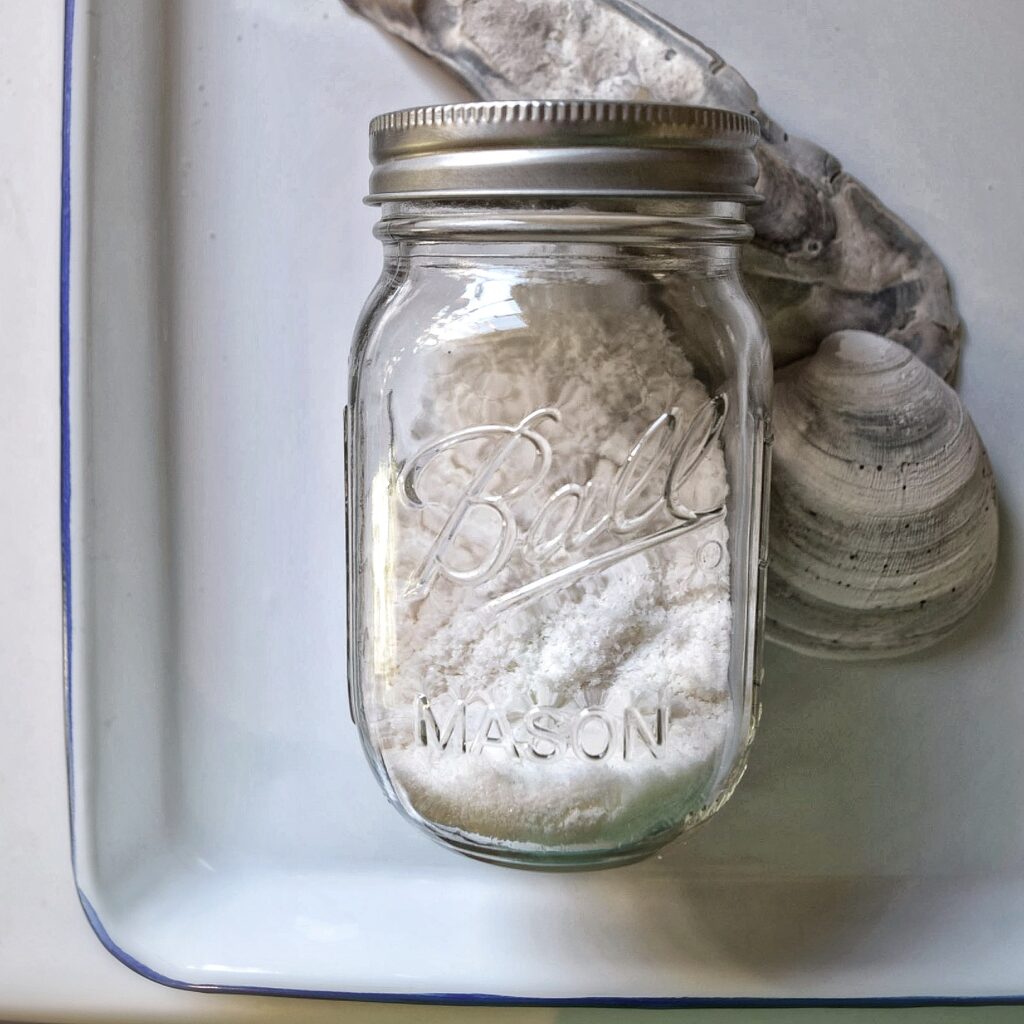
When summer vacation is over what do you have to show for it? A sunburn? A T-shirt? A coffee mug? Why not change it up a bit and make homemade sea salt from your incredible beach trip? It’s a simple process and well worth the time to create a meaningful culinary souvenir from your travels!
A Storied Past
If you’re anything like me, there’s one particular seaside spot that makes your heart skip a beat. Maybe you’ve been playing in its waves since you could walk, or your family has a house on its shores. You could of even said ‘I Do’ along its sunset surf.
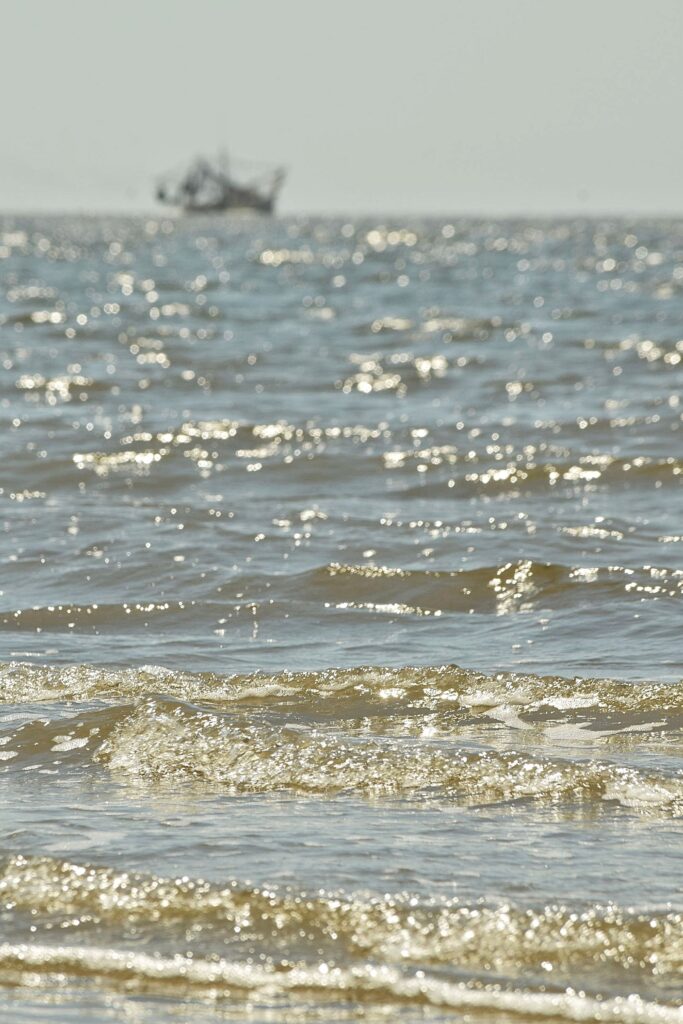
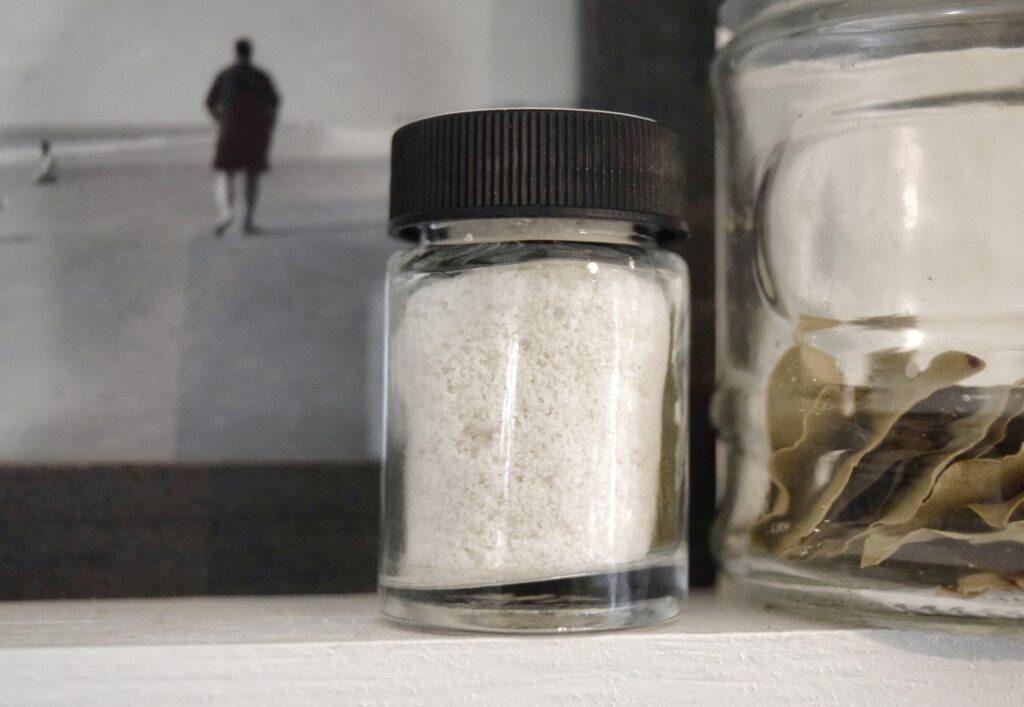
Making your own sea salt from a special ocean area is a unique way to commemorate the spot, and also to experience it in a deeper way. And what a meaningful gift it would make! Imagine how your siblings or parents would love a vial of sea salt from the family vacation spot!
The Beautiful Briny
Equally cool (especially from a culinary perspective) would be a taste-comparison between 3-5 homemade sea salts made from different beaches. If you live near the coast or are a variety-is-the-spice-of-life sort of traveler, wouldn’t it be fun to discover how the ecology of different areas influence the taste of your salts?
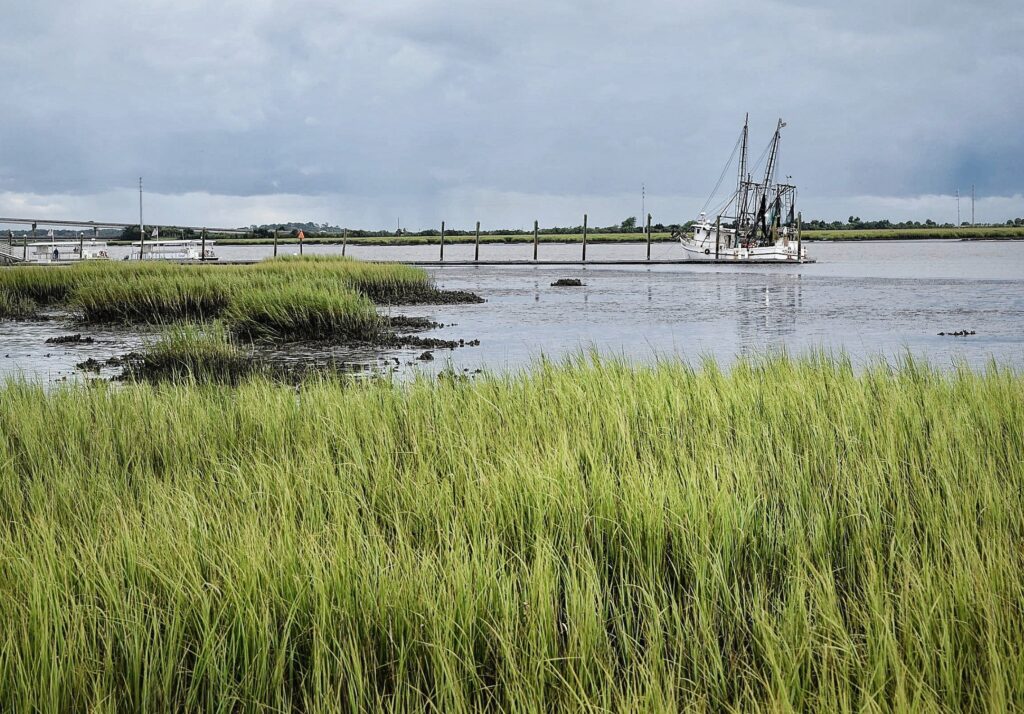
For example, the waters of my beloved Georgia coast are rich with nutrients from the surrounding saltwater marshes. Live Oaks gather around the water’s edge, wearing Spanish moss and the shape of the wind. But Cord Grass actually makes up most of the vegetation in the marsh. Since this plant is related to Sugar Cane, a hint of sweetness comes through in the sea salt I make.
If you’re using seawater from the Gulf of Mexico your salt may taste clean and light. Pacific Northwest waters? Maybe your salt will have a minerally taste! Wherever your seawater’s origin, and whatever memories are attached to it, the final result will be a delicious salt to flavor your dishes with a sense of place, and connection to both the land and the people that make it special. What could be better?
What You’ll Need:
- 1-4 clean Gallon Jugs (for harvesting)
- 1-4 gallons of Sea Water (depending on salinity of your water, plan on 1 gallon yeilding about 1/2 cup of salt)
- Stock Pot (Size depends on the amount of water you’re processing. One gallon is fine in a 6-7 quart soup pot. More then that you’ll need something bigger. Or, if you have plenty of time, you can work in batches.)
- Mesh Strainer
- Muslin or Cheesecloth large enough to cover pot (if using cheesecloth fold it to six-ish layers), plus more to line Mesh Strainer
- Twine enough to tie around pot
- Wooden Spatula
- 2 Rimmed Baking Sheets lined with Parchment Paper
- Surface Space for drying
- Clean, Dry Glass Jars with Airtight Lids
- Time!
Directions
STEP 1: Fill clean gallon-sized jugs with sea water from your beach and take it home.
STEP 2: Cut a piece of muslin or cheesecloth large enough to cover pot, and a piece to line your strainer. Tie cloth tightly over top of pot with twine. Pour water into the pot through the fabric “screen”, straning out any particles. Remove cloth and twine, then discard it if all the water fits into your pot. if you’re working in batches set the cloth and twine aside for later use.
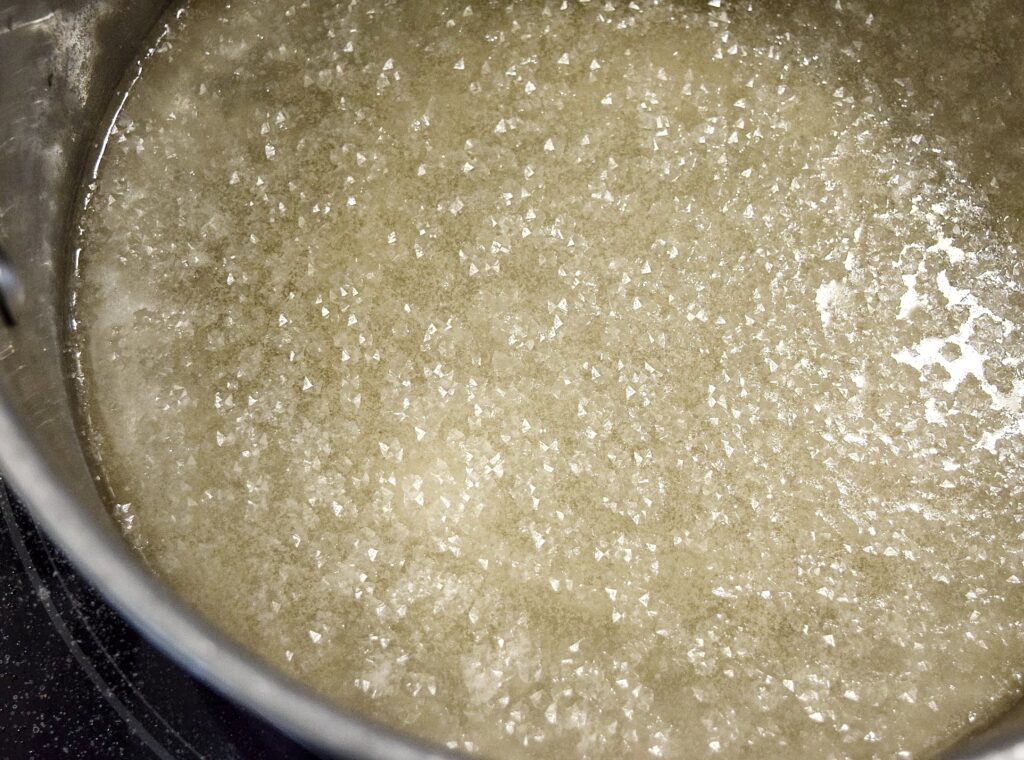
STEP 3: Turn burner to high and bring sea water to a boil. Turn stove down to medium-high and continue to boil until crystals begin to form. Depending on the amount of water you’re processing this can take a few hours so be patient! Stir with wooden spatula every once in awhile to check consistency. Eventually the water will reduce to about a water-to-crystal ratio of about 3-to-1. At this point no more crystals will form because there’s no salinity left in the water. Remove pot from heat and turn off burner.
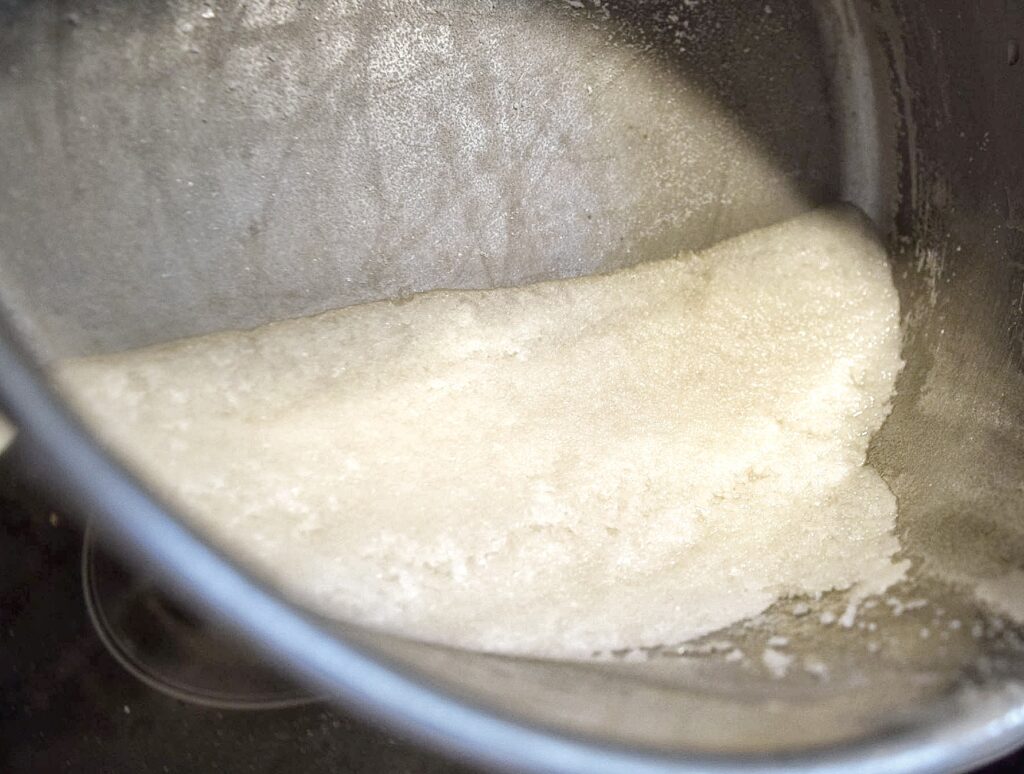
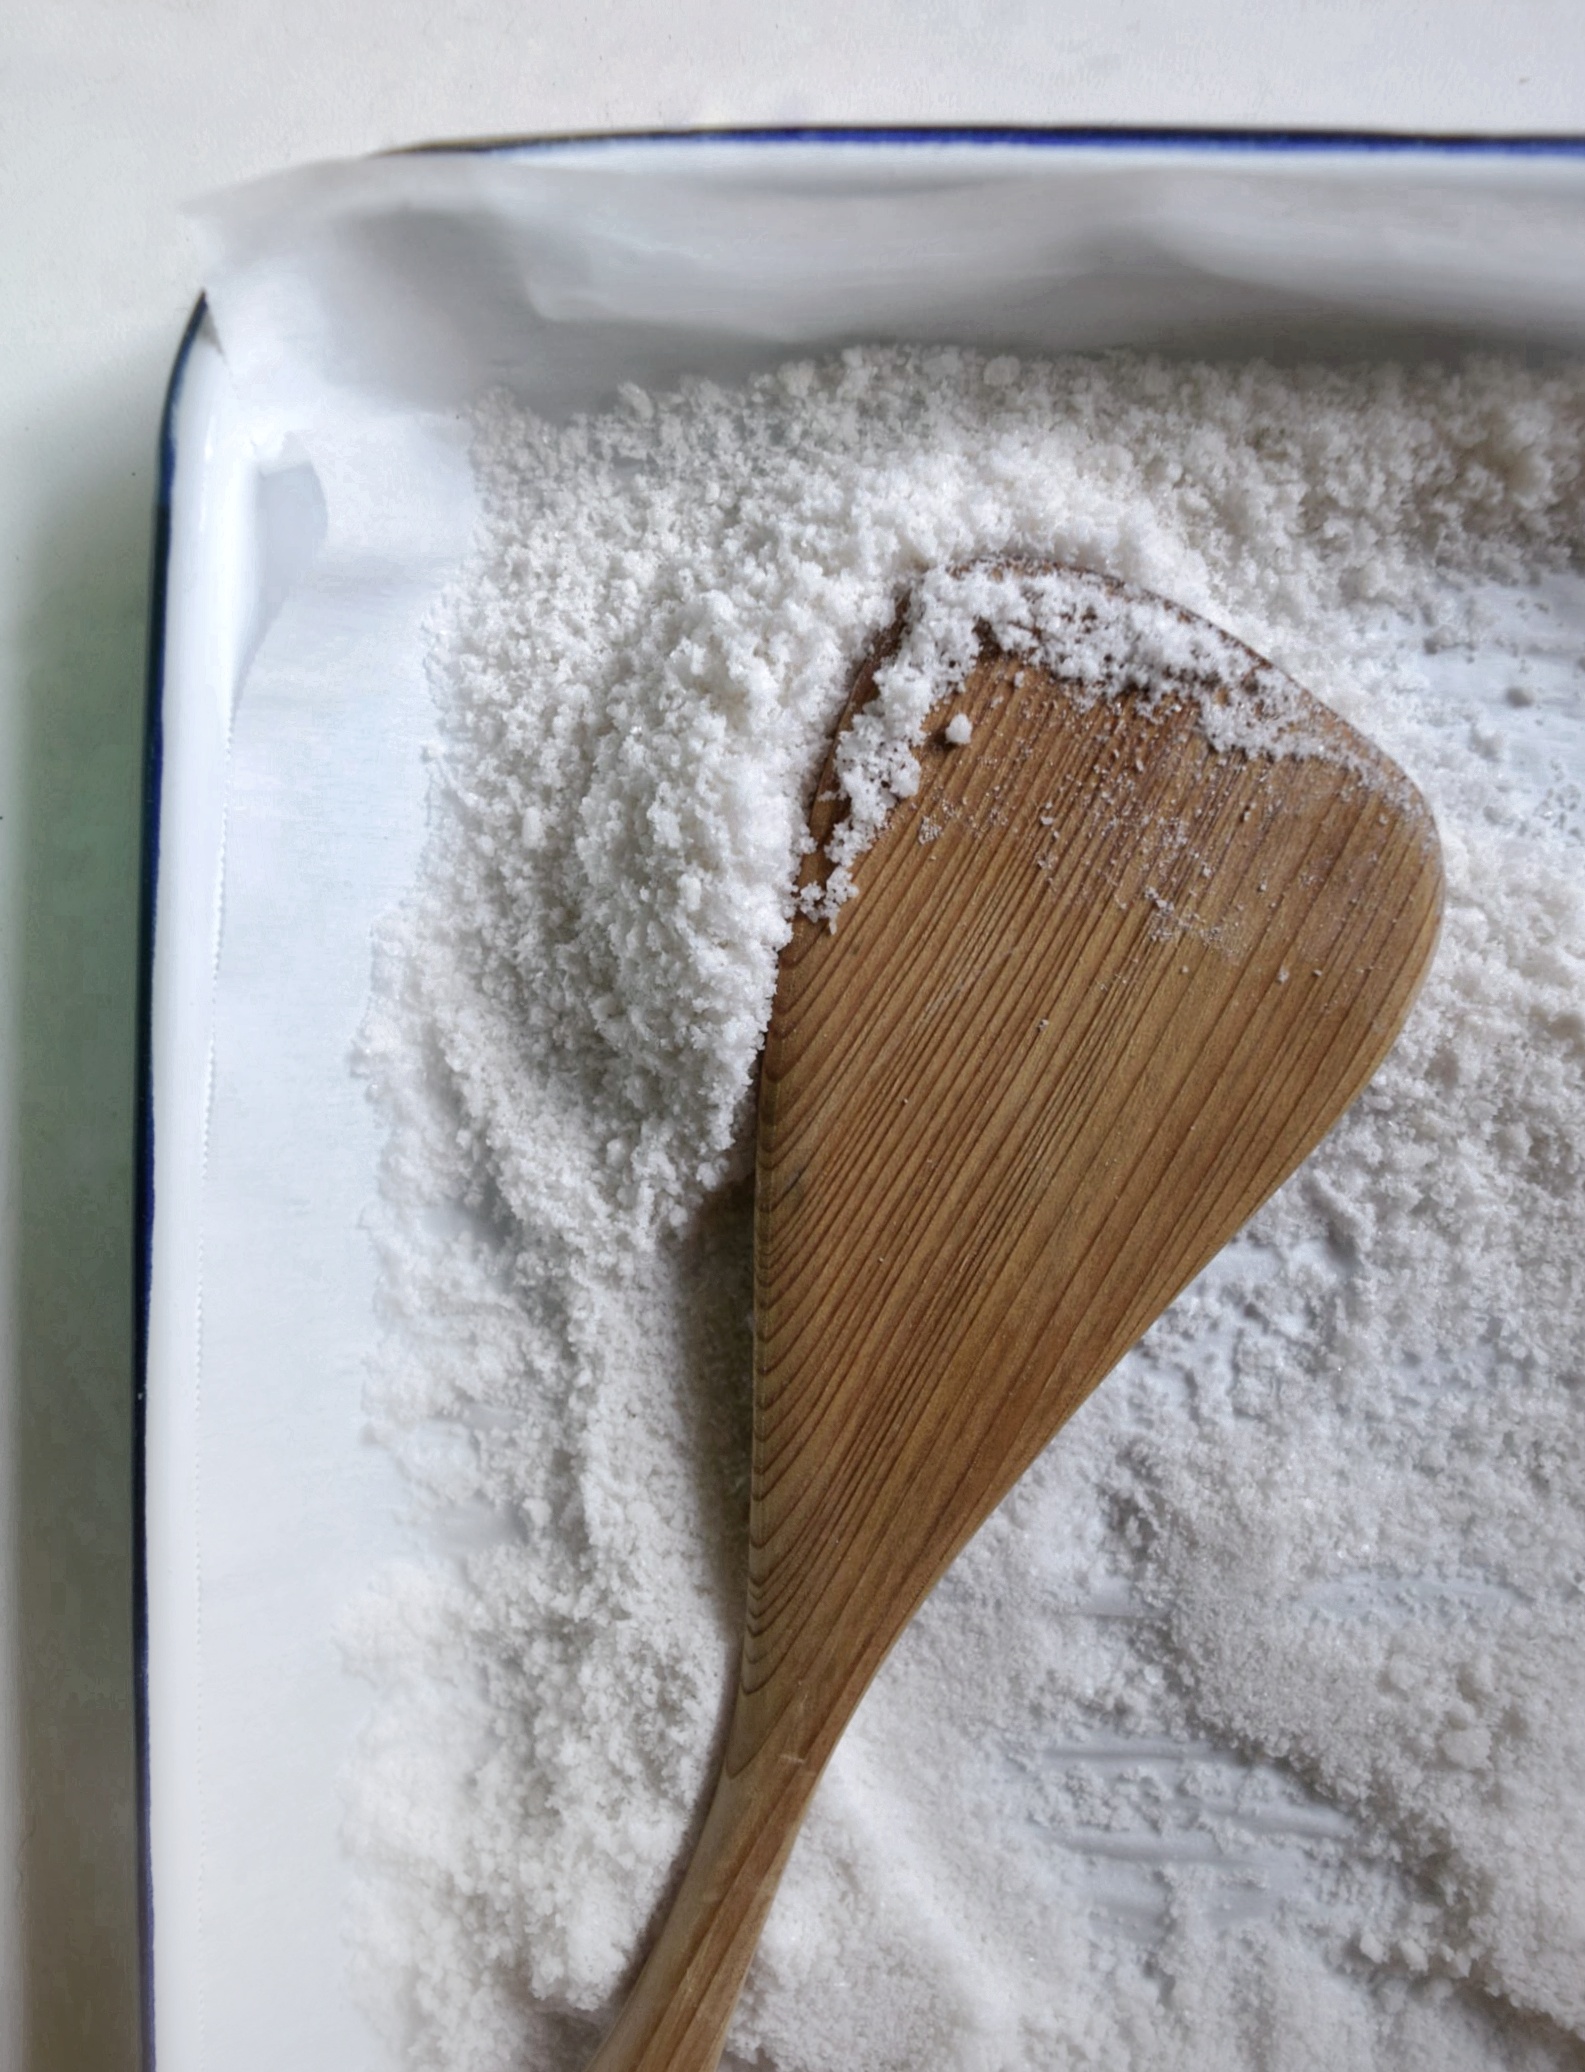
STEP 4: Line mesh strainer with muslin or cheesecloth. Pour excess water out of pot, then pour remaining salt slush through lined strainer, shaking it a bit to drain out as much water as possible. Pour contents of strainer onto rimmed baking sheets lined with parchment paper. Spread it out evenly with wooden spatula. Now you get to wait again!
It will take a couple days for the salt to completely dry out, so help it along by stirring it up a couple times a day. The humidity level where you live also affects the length of drying time, so keep this in mind.
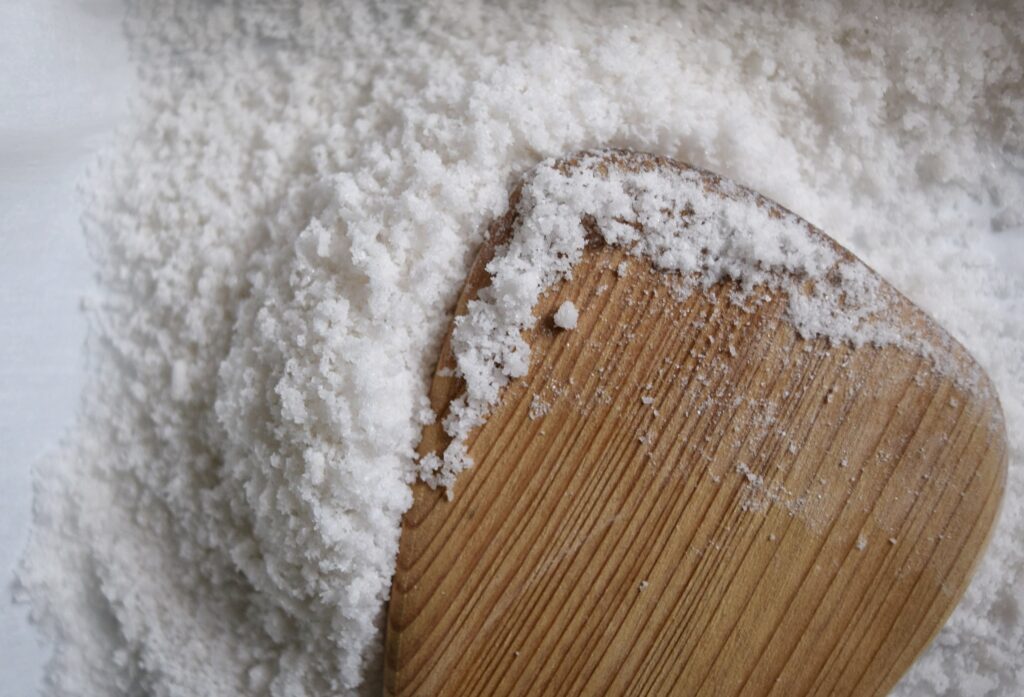
STEP 5: Once your salt is completely dry pour it into glass jars, label with the name of the beach it’s from, and keep it by the stove to enjoy every time you cook!
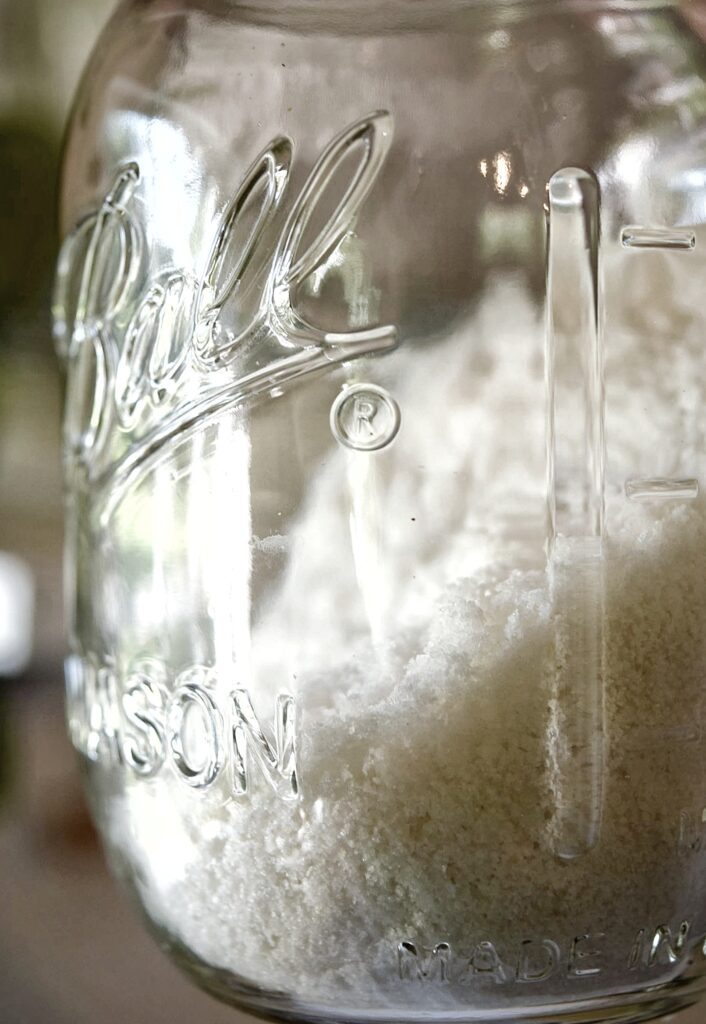
(Note: Sea salt is typically saltier than table salt. Because of this, and since you won’t know the flavor profile until you’ve cooked with it, you may want to stick to using it in savory foods at first. But once you’ve learned your particular sea salt’s personality, by all means bake with it! I find that reducing the amount of salt called for in a recipe by about a quarter is a good level when baking with sea salt.)
Your Turn!
So if you’ve got a trip to the beautiful briny sea on the books, grab a few containers of water and plan on a tasty, hand-crafted souvenir upon your return! It’s just too easy!
For more watery summer fun, head over here. Maybe a little virtual coastal travel sounds good? Then come wander around Charleston, South Carolina, with me in this post!
Per usual, I’m not into sponsored posts or affiliate links, so enjoy binge reading in this agenda-free zone! You’re welcome. 🙂
homemade sea salt, homemade sea salt, homemade sea salt, homemade sea salt, homemade sea salt, homemade sea salt, homemade sea salt, homemade sea salt
Comments are closed