Searching for a natural look for your mantel décor this Halloween? Gotcha covered, friend! Holiday decorating is SO fun, and if you add a little DIY art project into the mix? You get a one-of-a-kind mantel that will keep you smiling all October long!
For this décor project I mostly used what I already had, plus a glut of pumpkins. (Confession: every year I purchase more pumpkins than I really need. Can’t help it! We’ve got the cutest little Methodist fundraiser pumpkin patch down the street. I can’t resist picking up “just one more” on my weekly grocery run! #BuyLocal and all that, too, lol.) So here’s the breakdown of this natural Halloween mantel!
DIY Man-in-the-Moon Art Decor
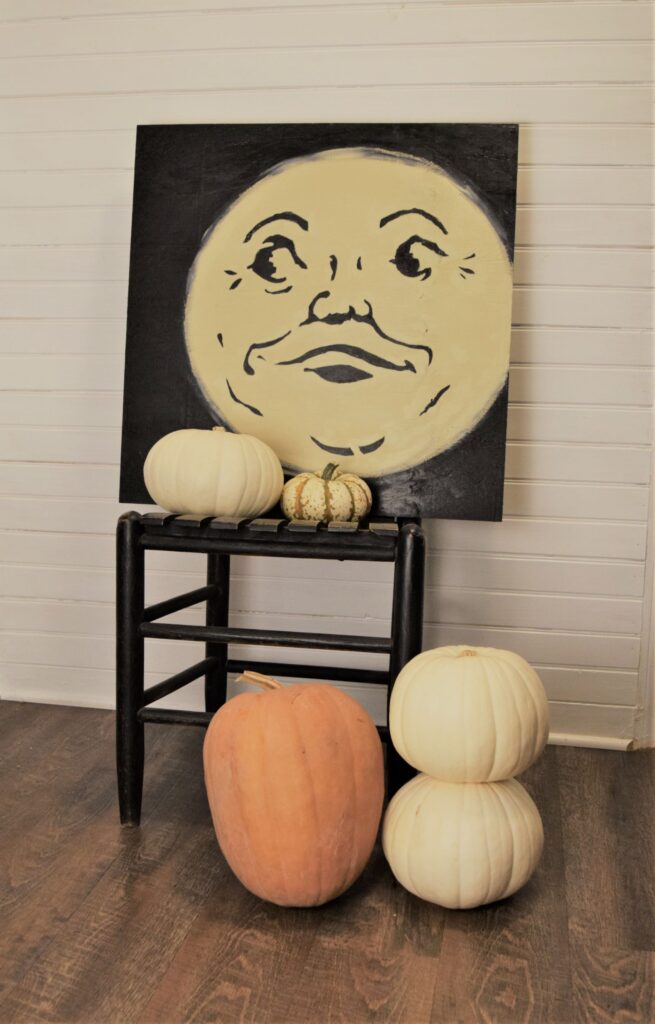
The vintage 30’s style of this guy is so fun! I had already completed a painting on the reverse side of this 24″ square piece of 3/4″ plywood. I decided to save money, a trip to Home Depot, AND (most importantly) storage space in our little house, by making the artwork serve double-duty and painting my moon on the back. Now it’s a reversible piece of art!
Originally I planned on printing out a template and making quick work of this. Well, the printer had other ideas and would only enlarge a quarter of the face. Even though this is definitely not my usual style, I ended up sketching the face onto the board and painting this guy free-hand. Turned out fine and honestly, the creative stretching was good for me. The template I used for reference is from Eryn Whalen’s fantastic blog. You could also use a paint pen to draw in the face, or even use a vinyl cutting machine for a super-quick art project! Oh, and you’ll need a chill and thematic soundtrack for this project! Cue up Willie Nelson’s Stardust album. Perfection.
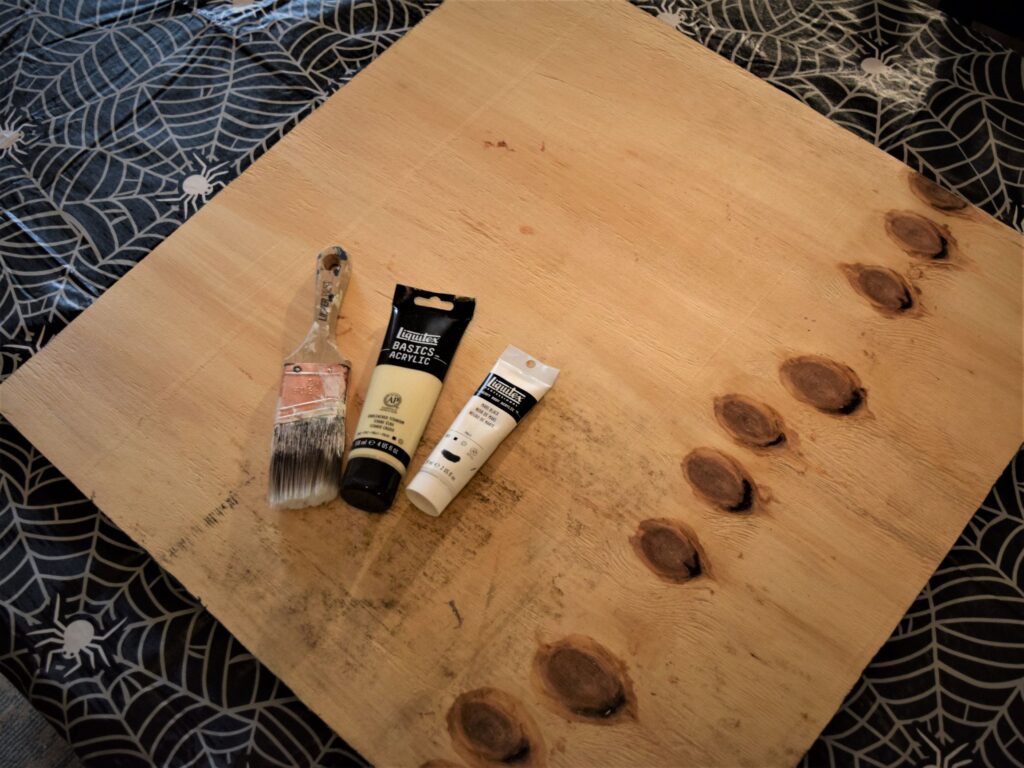
Man-in-the-Moon Supply List
- Liquitex Basics Acrylic Paint in Unbleached Titanium
- Liquitex Professional Heavy Body Acrylic Paint in Mars Black (you could also use craft paint, but this black gives incredible coverage)
- 24X24″ Plywood Board (3/4″ is what I used but 1/2″ would work, as well. These come pre-cut at Home Depot)
- 1/2″ Flat Paint Brush (synthetic is nice and bouncy)
- 1 1/2″ Angled Trim Brush
- Pencil
- String (cut to the length of the radius of your moon, plus 2 inches for tying)
- Thumbtack
- Face Template
Instructions:
Paint the entire board unbleached titanium with trim brush. Tie the string to your pencil. When board is dry, thumbtack the free end of the string to the center of where you want your moon. Extend the string/pencil taut and use it to draw a circle. Paint outside of the circle black. To make the moonglow, run a brush of unbleached titanium around the edge of the moon, blurring it into the still-wet black. Cut out and trace your template onto the moon. Paint the the facial features with black paint. Let dry completely. Sand the edges for a more rustic look if that’s your thing. 🙂
A Natural Pumpkin Patch
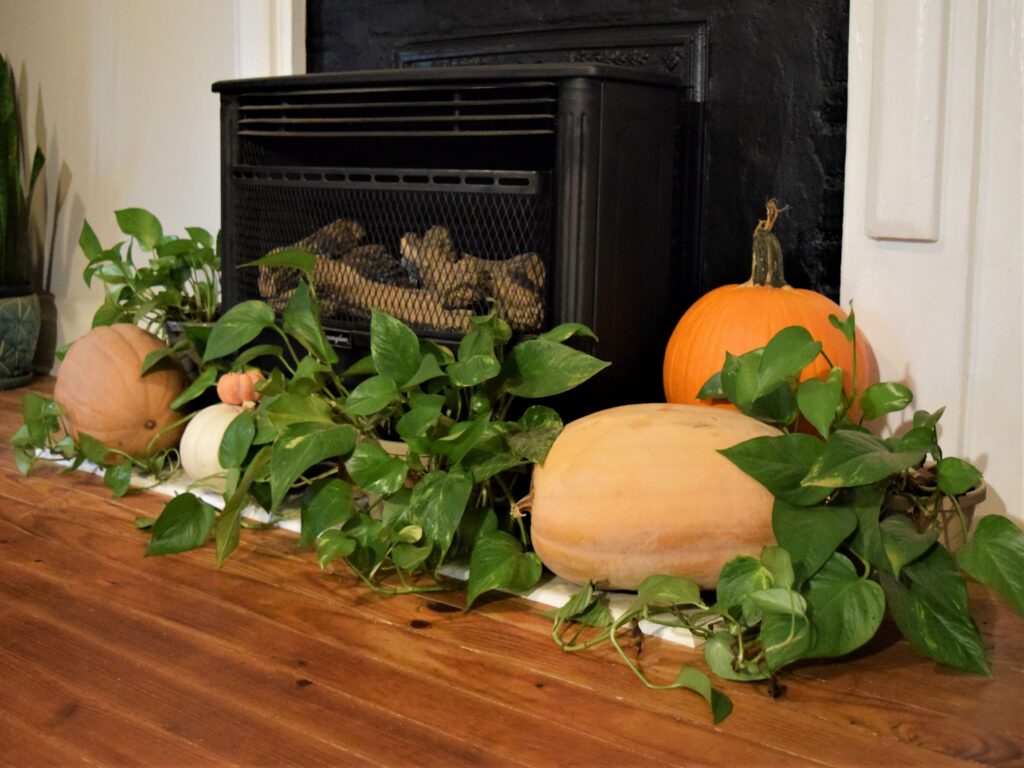
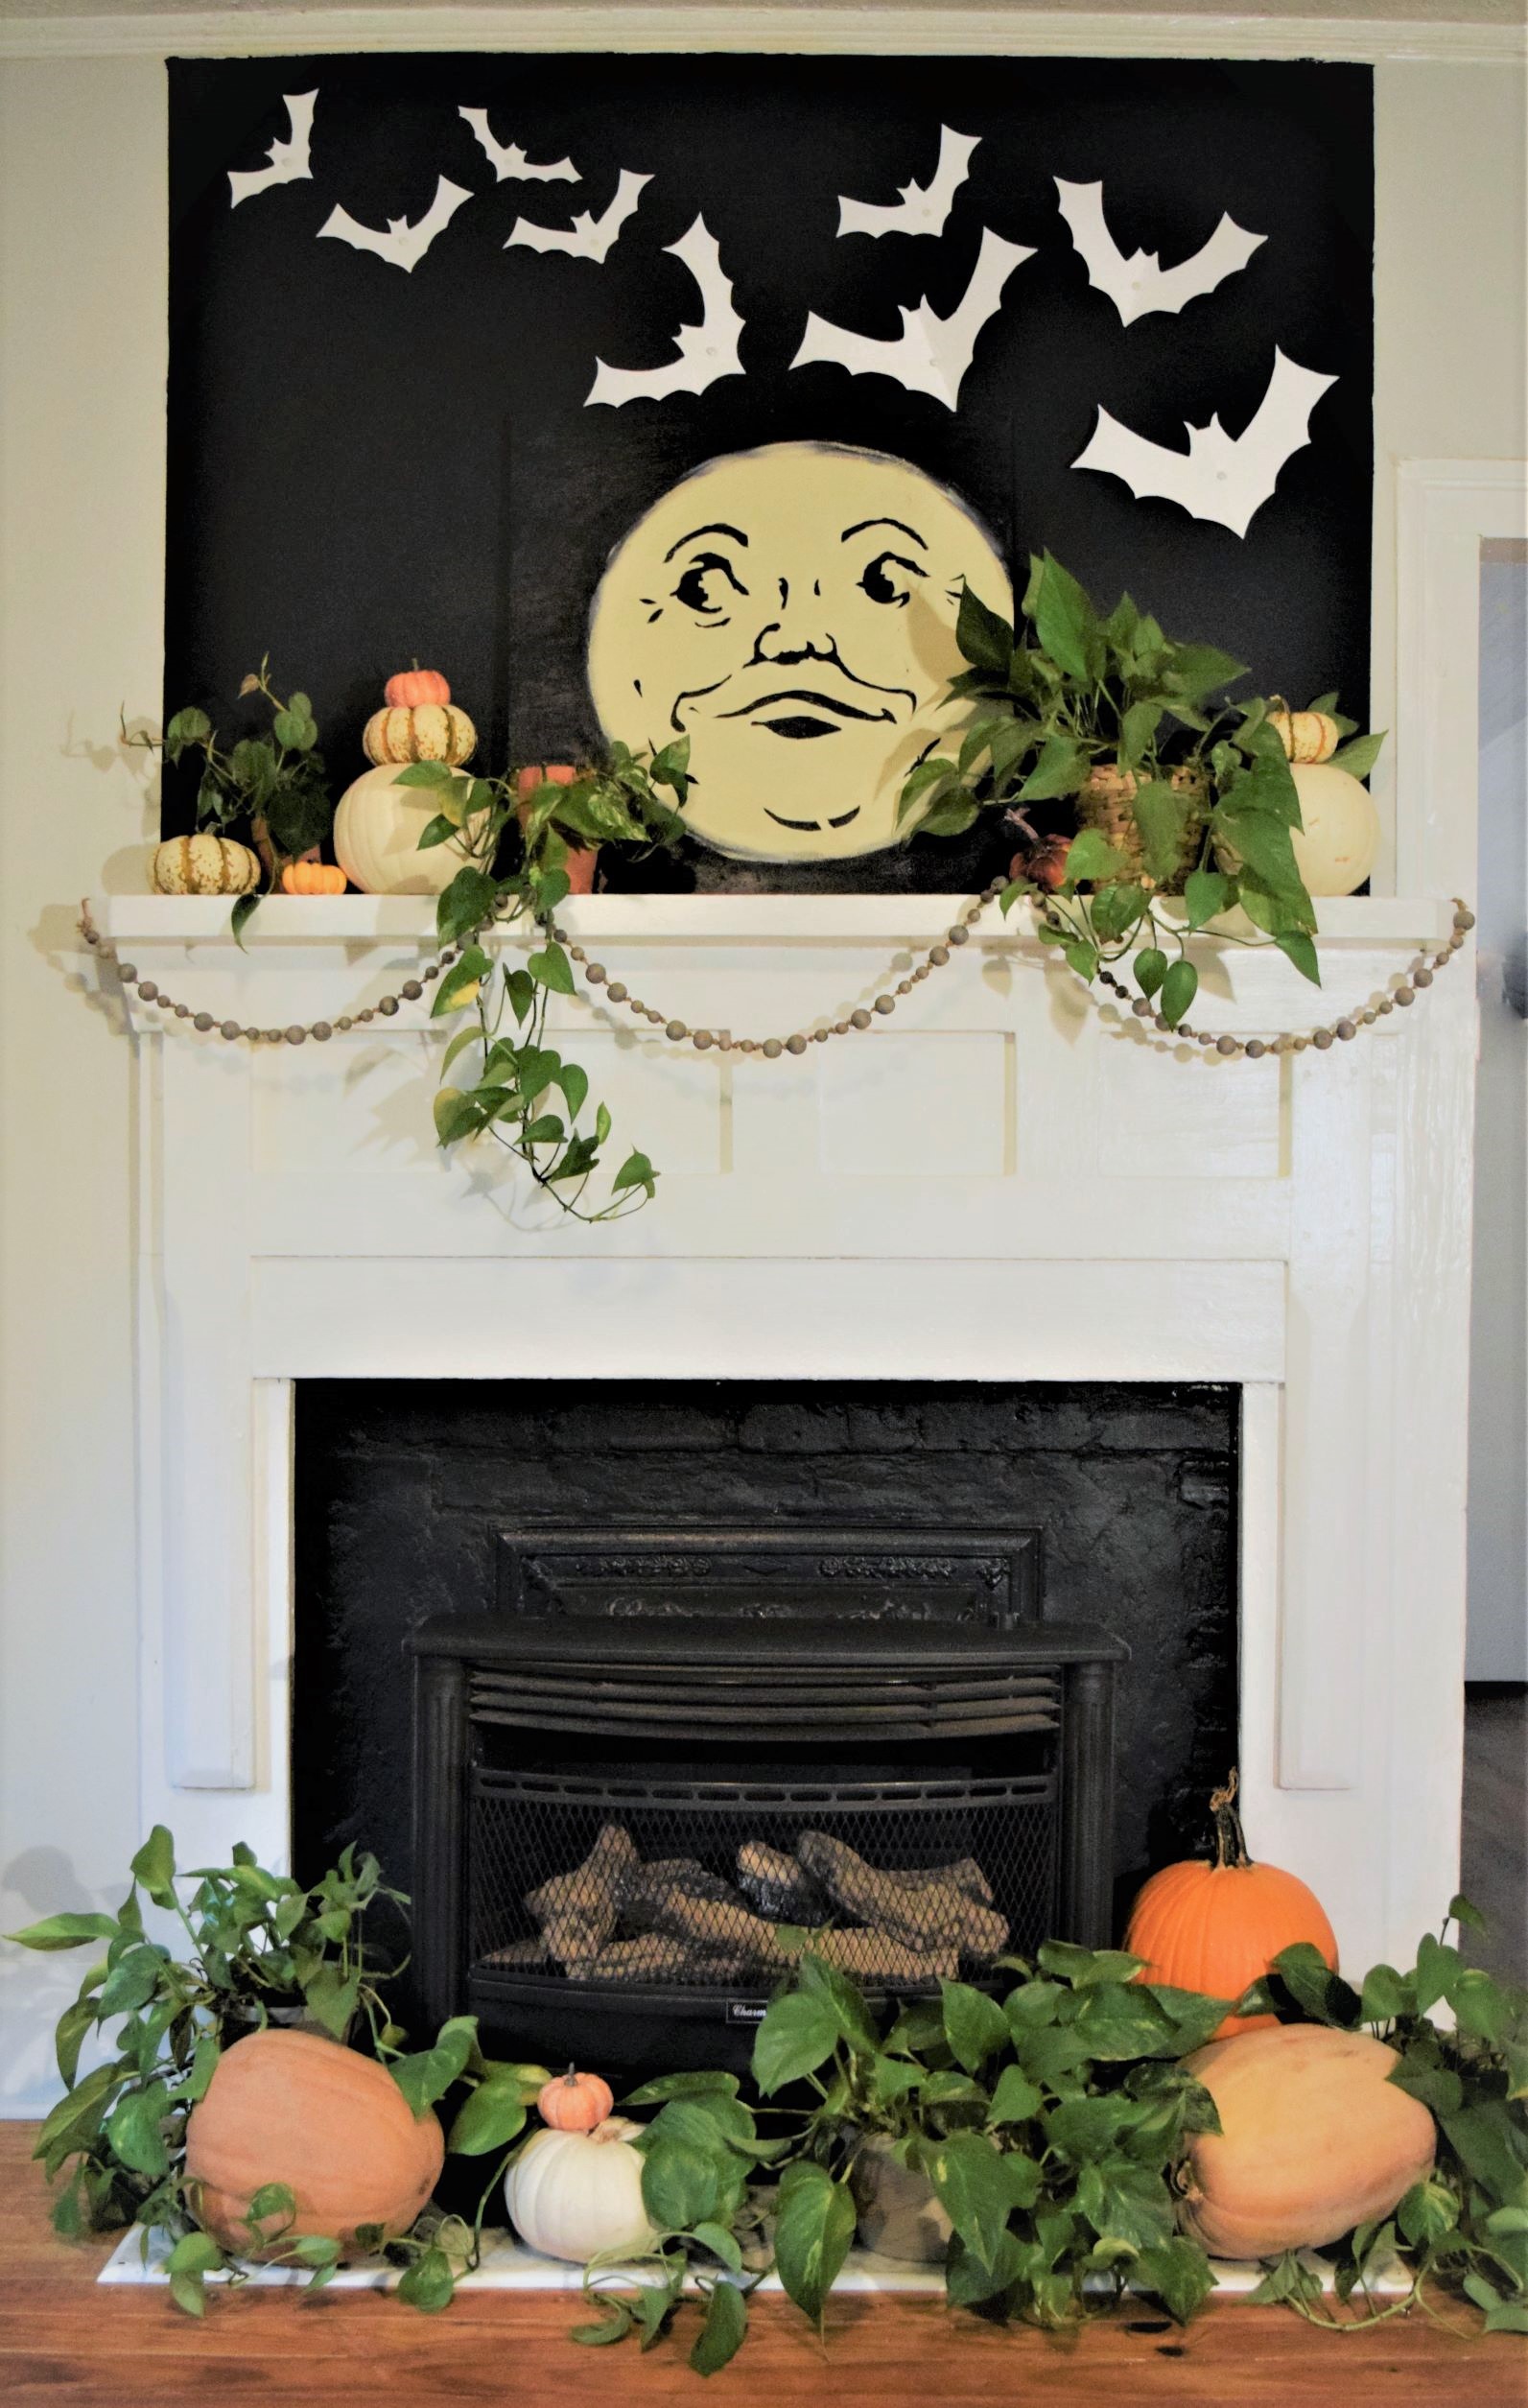
Spontaneity in seasonal décor is nice once in awhile! I had all my pumpkins piled around the fireplace but it looked so empty… so I shopped my house! There are a lot of Pothos vines around our home. I love the life they add, and I find that they’re one of the few houseplants I don’t kill! (for more easy-grow houseplants ideas check out this article) Now they’re serving as pumpkin patch vines, and I don’t think they’ve ever looked better! The bigger Pothos plants are from Aldi. At $5 apiece, it was an affordable route to green up our place. And they’ve just gotten more lush over the couple years I’ve had them! Aldi, a garden center? Who knew!
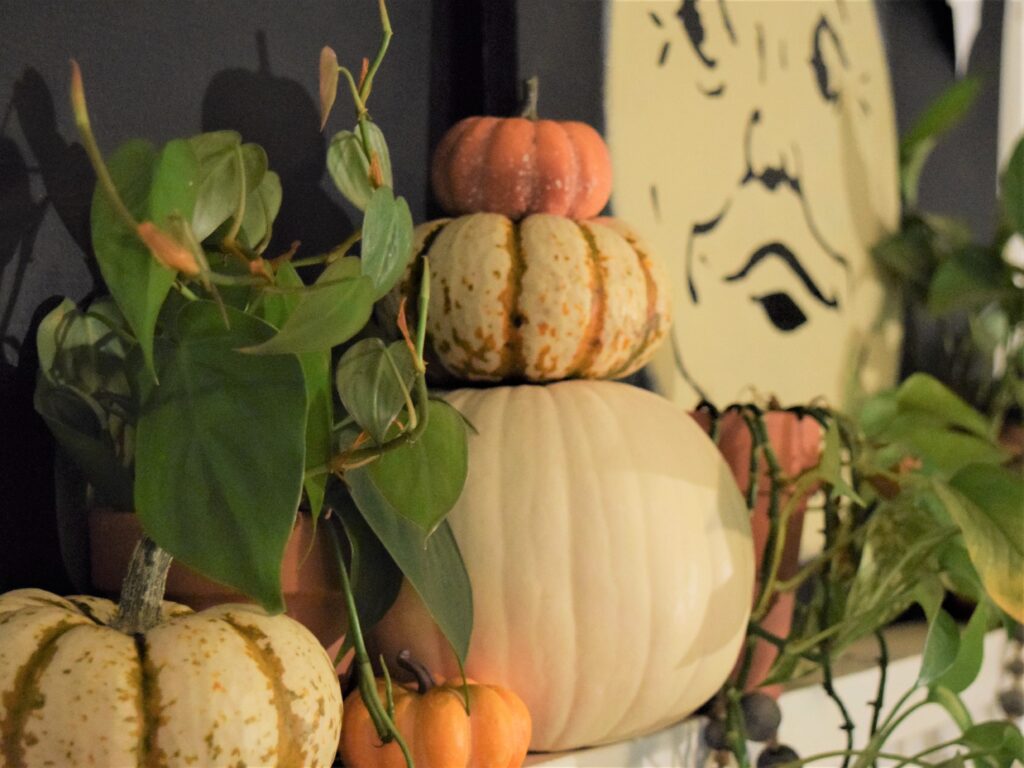
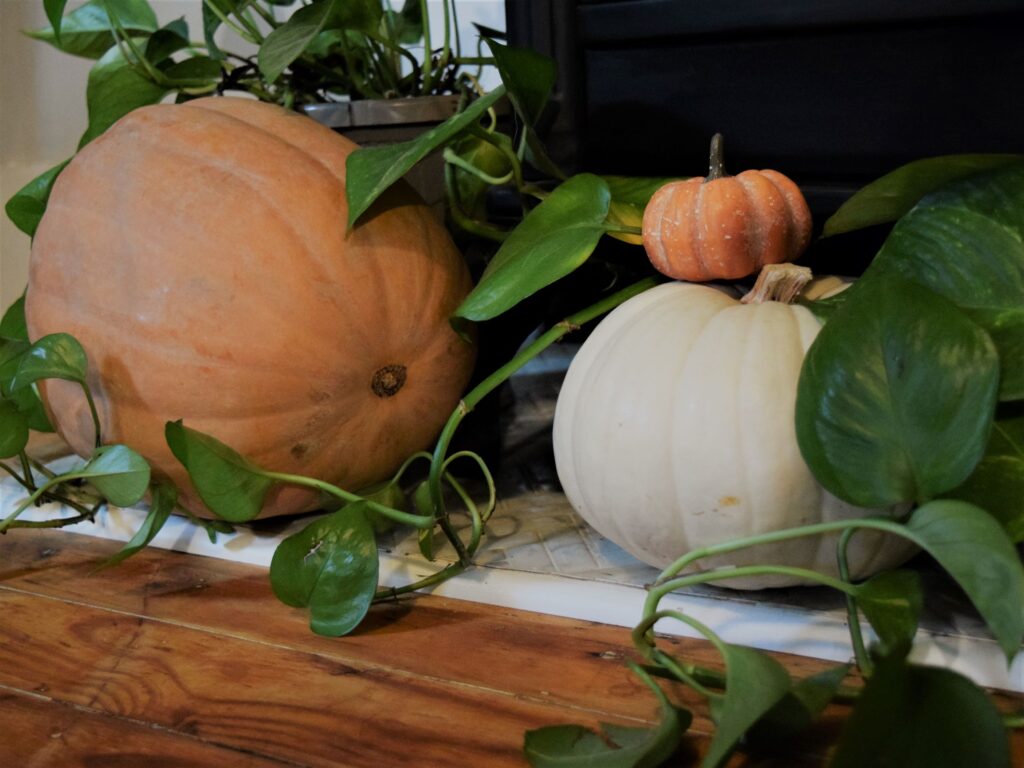
The varieties of pumpkins used are : Lumina White, Howden (a classic jack-o-lantern carving pick), Dwarf Tiger Stripe, Dickenson (muted orange), and a couple tiny fakes from Michael’s. I just tucked them in around the fireplace and stacked a few for height on the mantel. The mixed, tumbling look turned out very organic.
They’re All Bats
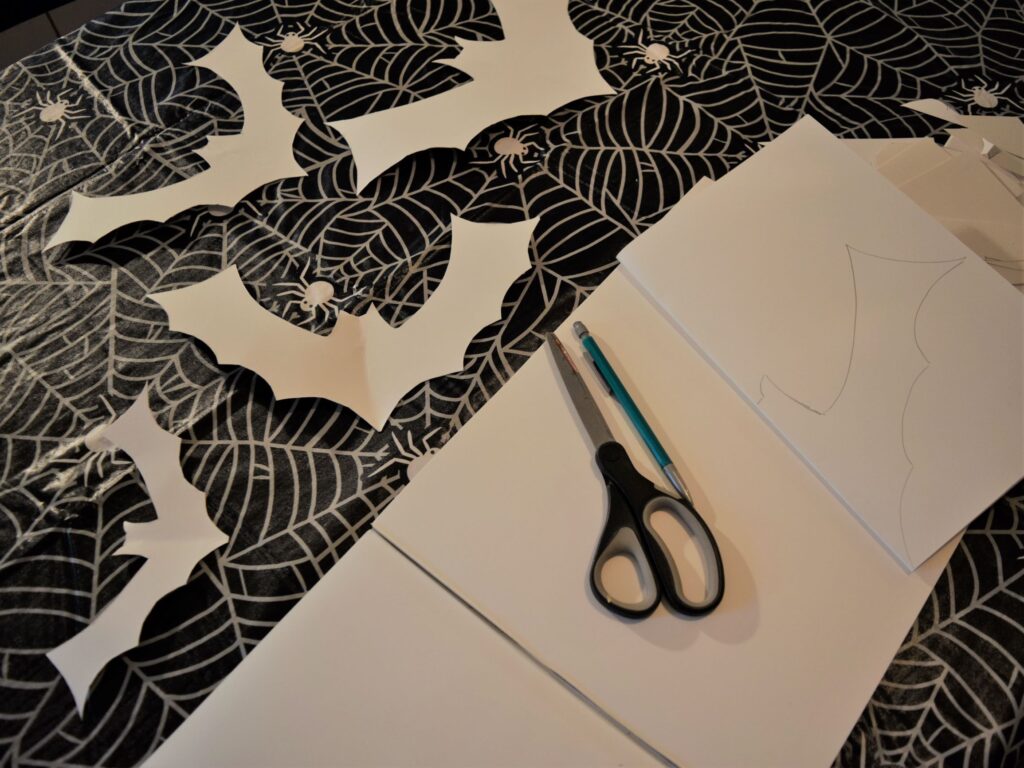
The dramatic cloud of bats is made with simple paper cut-outs attached to the wall with white thumbtacks. You can find a similar bat template here. I used 40lb hot pressed watercolor paper so the cut-outs wouldn’t flop. Because nobody likes a floppy bat! You could use watercolor to paint these guys a soft gray, but I wanted the high contrast from a pure white. Simply attach your bats to the wall in a natural grouping over your moon, and the mantel is done!
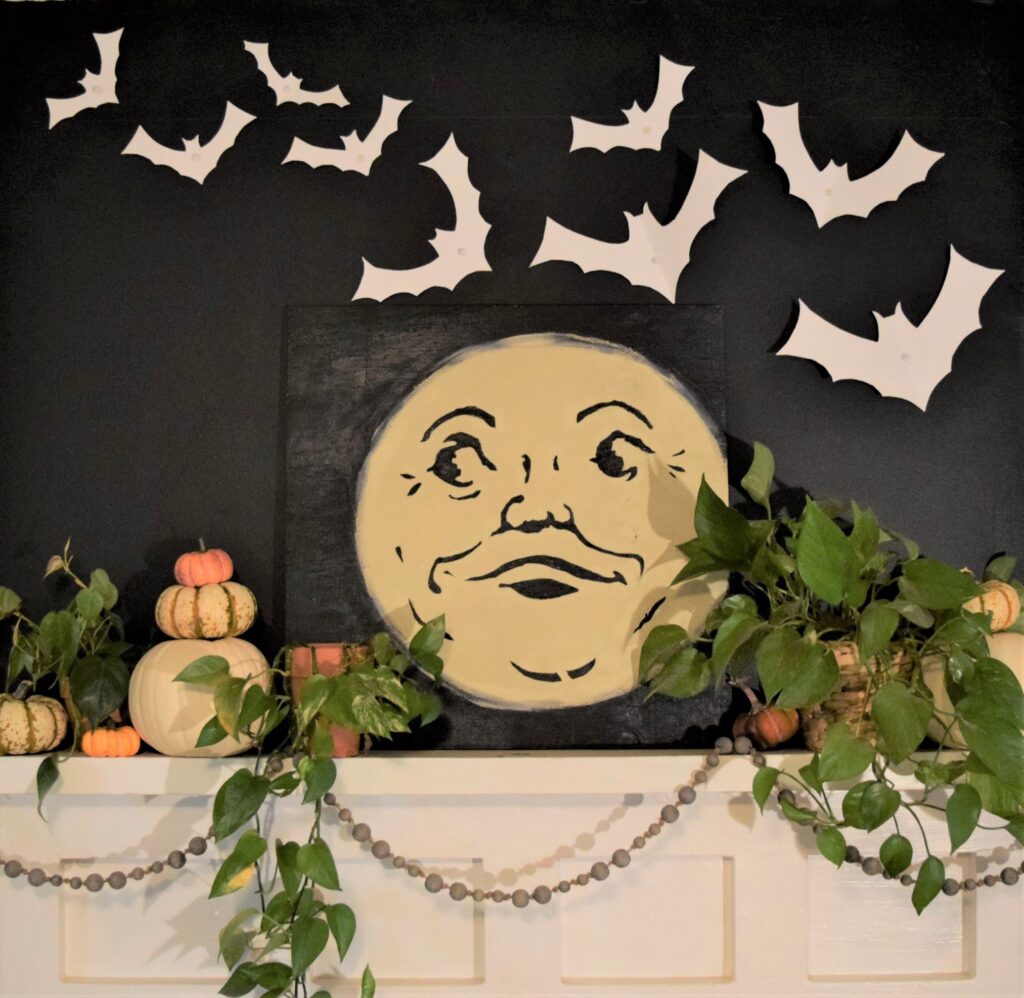
And there you go! An easy, natural Halloween mantel, ready to spook up your home! I hope you have fun with it! For more fall-ish things to do this season, check my October post or my September post!!
*This post contains no affiliate links, nor is it a sponsored post.
Natural Halloween Mantel Décor, Natural Halloween Mantel Décor, Natural Halloween Mantel Décor, Natural Halloween Mantel Décor
Comments are closed